in: Sage 300 ERP Tips and Tricks, Sage 300 ERP Tips and Tricks|Software Tips and Tricks, Company News
In this tutorial, we are going to review the steps for creating a purchase order that will be for drop ship directly from the vendor to the customer. Technically, for accounting purposes in Sage, there is no difference between a regular shipment and a drop ship. The steps are the same: a purchase order (PO) is created, inventory is received and invoiced in Purchase Orders, and then shipped and invoiced in Order Entry. For this demo, we will walk through the simple first step: creating a purchase order for drop ship.
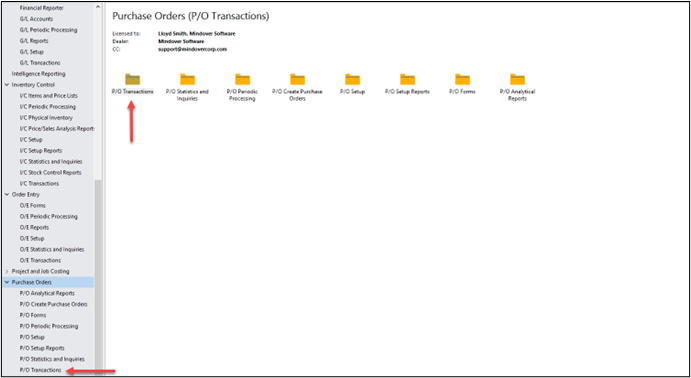
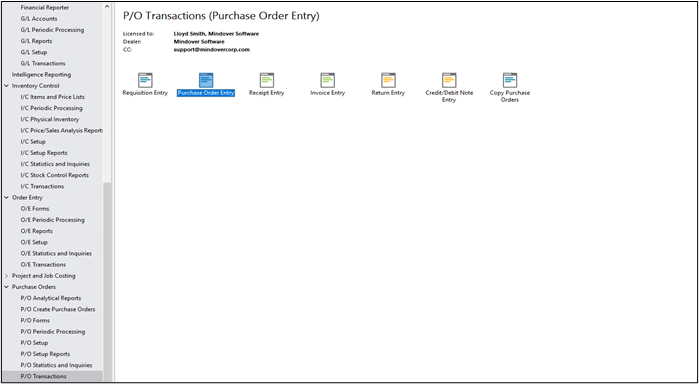
Start by navigating to Purchase Orders → Purchase Order Transactions → Purchase Order Entry.
In the Purchase Order Entry, a new PO will be created.
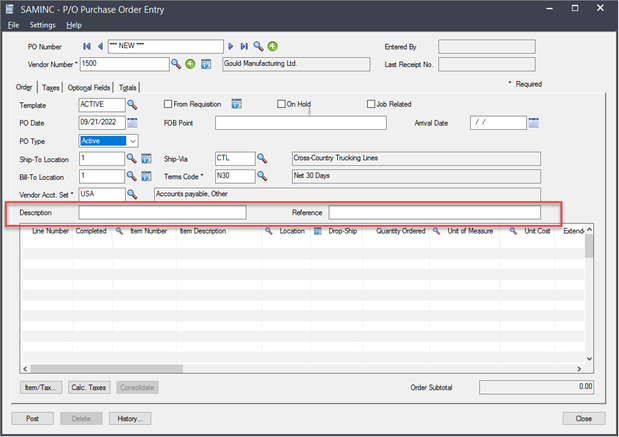
To create a new PO, the first thing to note is that the PO Number field defaults to ***NEW***. If your company creates its own PO numbers, this is where it would be entered. If no number is entered, just hit the tab key and the system will create one and the record is posted.
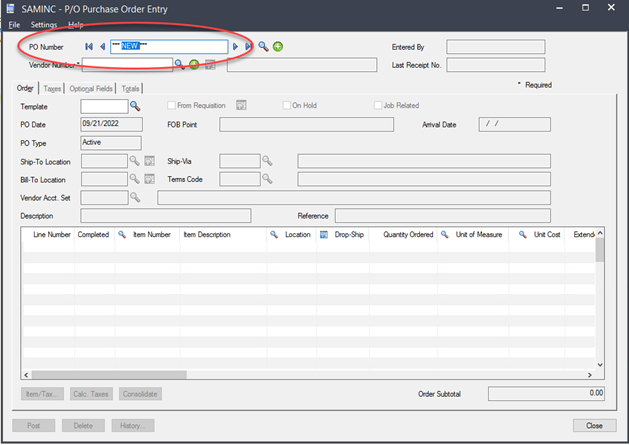
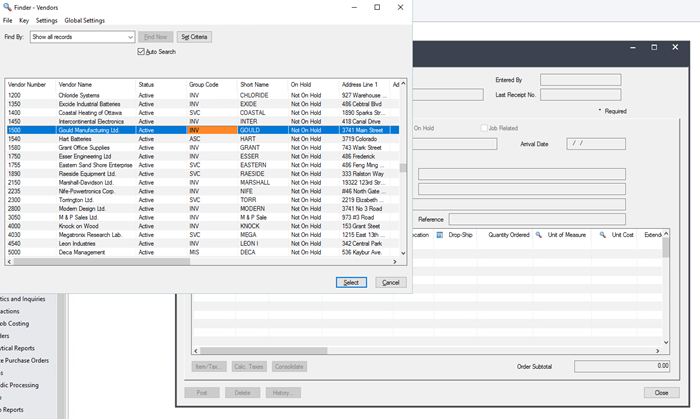
Next, enter a vendor in the Vendor Number field. Click on the Finder icon to locate the appropriate vendor if the number is unknown. Double click on the vendor or highlight and press the Select button.
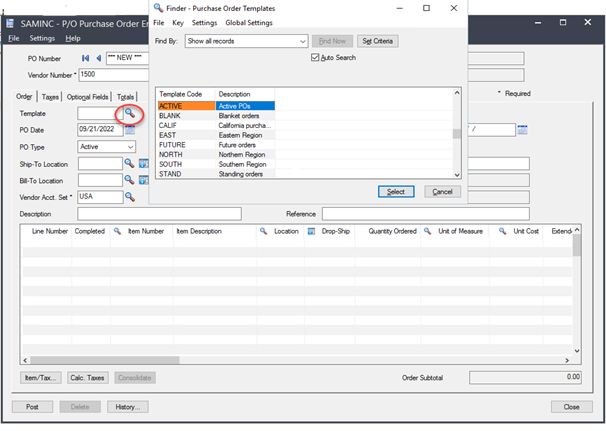
If configured, a template may be selected that populates default data into the information fields based on company settings. In this example, the template Active will be used.
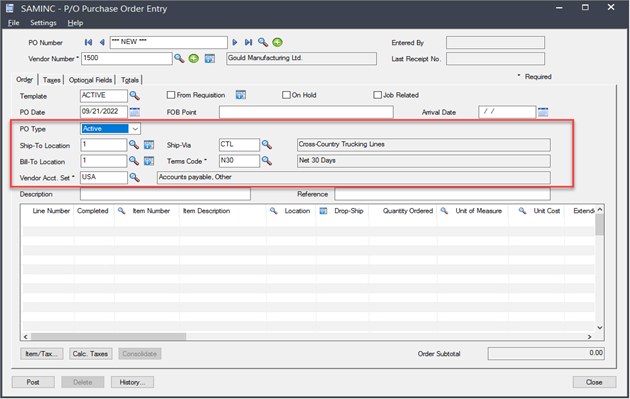
Note that the shipping information populated designating the Ship and Bill To locations as well as the shipping company and payment terms. If not using a template, simply enter this information manually as necessary. Further, make sure to specify the PO Type based needs. For demo purposes, the Active type will be used. This means that this PO becomes live and ready for invoicing and shipping as soon as it is posted.
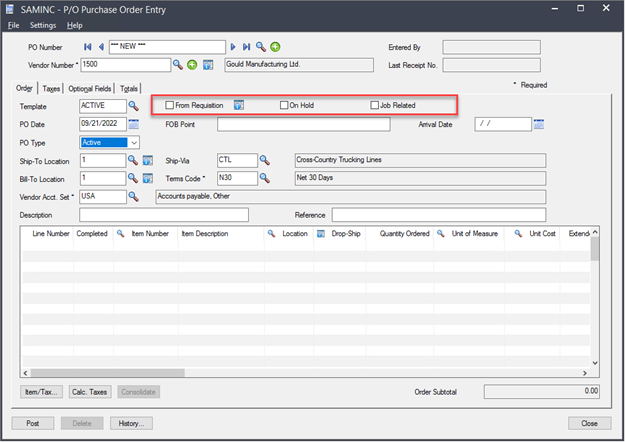
If entering a PO from a requisition or it is Job (Project and Job Costing) Related, simply check those boxes and enter the appropriate information to pull or enter that data. Otherwise, just leave them blank. Also, make sure the appropriate Vendor Acct. Set is selected to designate the appropriate GL accounts.
If preferred, enter a description of the purchase and a reference line or number for in-house tracking and notation. This is not required. It is simply for the company’s use. For the benefit of this tutorial, those fields will be left blank.
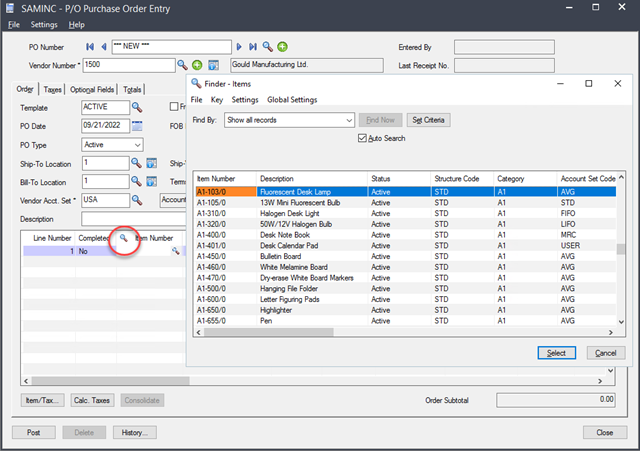
Next, the details of the purchase are entered as line items by either hitting the Insert key or below the details section, select the Item/Taxes button and a new screen will appear called Detail Items/Taxes. For simplicity of this demo, click the insert key to highlight the line. Using the Finder icon, enter the Item Number for the items being purchased and click select. Then, hit the tab key to move to the next field.
To designate this for drop ship, click on the calendar icon next to Drop-Ship. This opens a new window called Drop-Shipment Address. To set the drop ship address, click on the drop-down box and select the appropriate address for items to be shipped to.
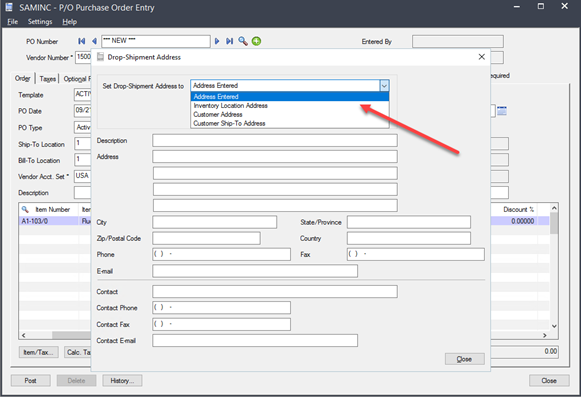
Each of the 3 selections provide fields to choose where to drop ship: Inventory Location, Customer, or Customer Ship-To. Determine which address is needed and make that selection. For this tutorial, the Customer Address will be selected. Then, choose the appropriate customer in the Customer Number field and close the screen.

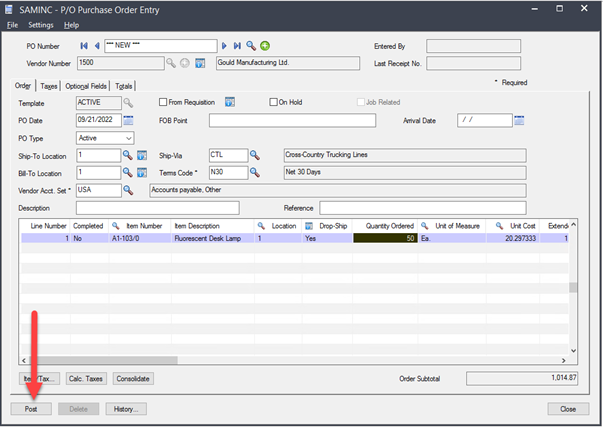
Notice that the Drop-Ship field now reflects the affirmative, yes, that the drop ship has been created/designated. Continue tabbing to enter the rest of the necessary information such as quantity, discounts, or optional fields as necessary. Once all information is entered, click Post. A PO number will be generated by the system.
See it in action with this video!