in: Acumatica Tips and Tricks, Acumatica Tips & Tricks, Acumatica, Company News
In this tutorial, we work through the steps of entering a new fixed asset to the company records. This is a very simple process that is the first step in managing, converting, and depreciating fixed assets.
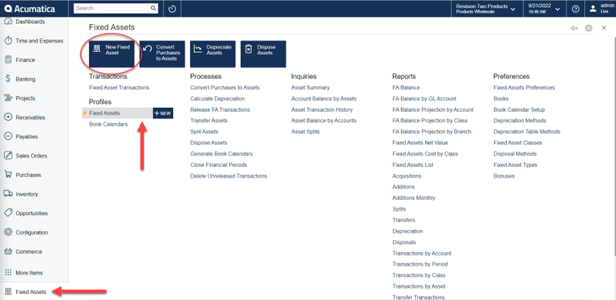
Start by navigating to Fixed Assets → Profiles → Fixed Assets-+New or the New Fixed Asset button at the top.
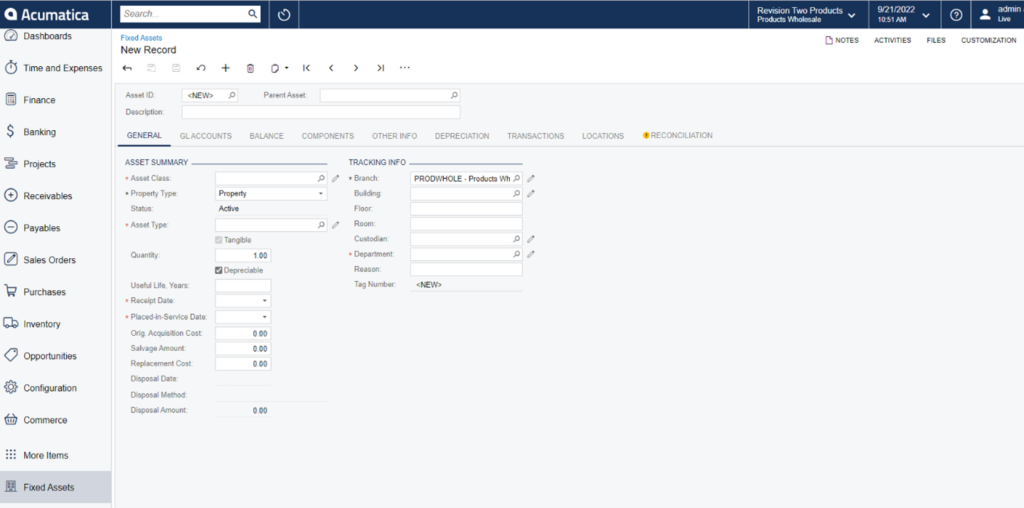
The first screen shows a blank new record. Notice the Asset ID is set to <NEW>. This is where we will add all the details for our new fixed asset.

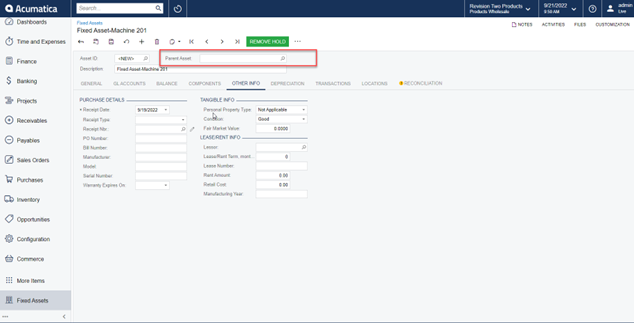
First, enter a description of the asset in the Description box. If this asset was the product of another asset, then it would be specified in the Parent Asset box. For this example, this is a new standalone asset.
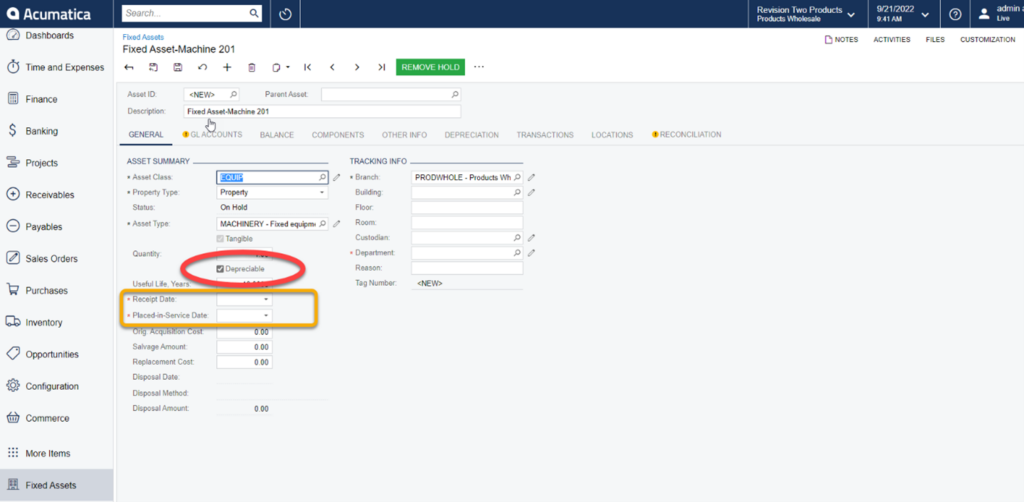
Next, in the Asset Summary under the General tab, select the asset parameters as required. These can be changed as necessary before saving. For this example, we will simply use general information. Note that the Branch and Property type will default to system configuration. Check to make sure these are the settings required for the new asset, and if not, simply change them.
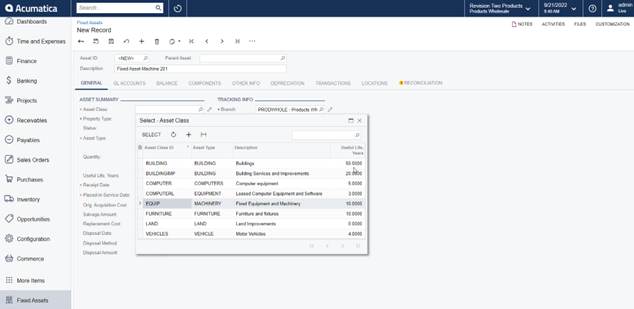
In the Asset Class box, select from the drop-down box, which defines general fixed asset parameters, such as useful life, asset type, GL accounts for posting FA transactions, and depreciation settings. These, too, may be changed as needed. In this case, the fixed asset is machinery. Double click on the setting needed.
In the Property Type box, select the way the asset was acquired. Then, in the Asset Type box, select the type of the fixed asset. The system fills in this box automatically according to the fixed asset class that you have selected, but you can change the value. If necessary, enter the needed quantity in that field. Also note: the Useful Life, Years is preset based on depreciation system configuration. This may be changed as necessary.

The next step is to enter the dates of acquisition. In the Receipt Date box, enter the date the asset was acquired. If the asset is depreciable, select the Depreciable check box. Then, in the Placed-in-Service Date box, enter the start date for depreciation. Often, this will be the same as the date acquired, but not always. If the asset is non-depreciable, simply uncheck the Depreciable check box and in the Placed-in-Service Date box, enter the date the asset was placed-in-service.
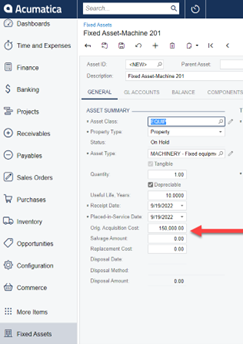
Once the dates and depreciation status are set, the next step is to enter the acquisition cost. In the Orig. Acquisition Cost box, enter the cost to acquire the asset. The original acquisition cost is used as the basis for depreciation of the asset, which you can find in the Basis column on the Balance tab, once saved.
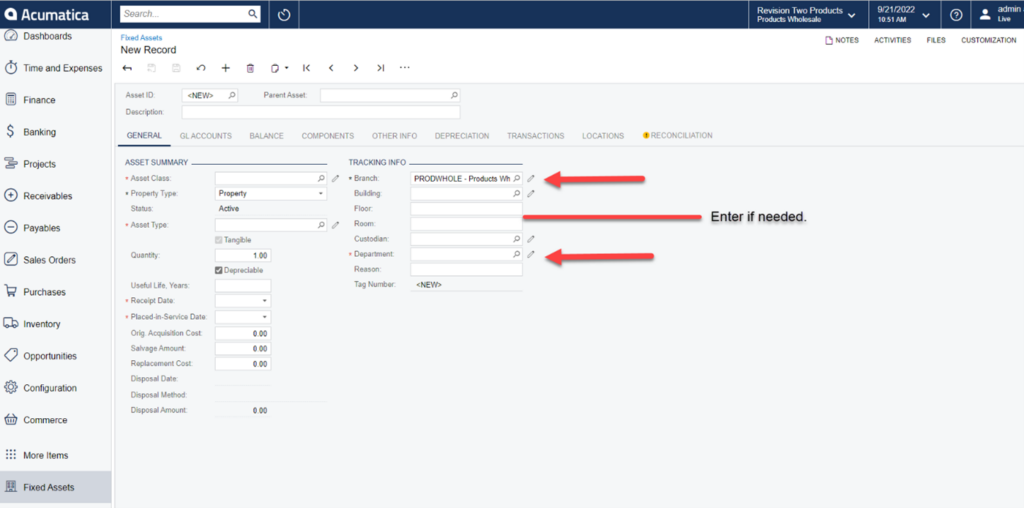
When all the summary information is entered, navigate to the next section. In the Tracking Info section, specify where the asset must be placed. In the Branch box, enter the branch to which you want to assign the asset. This may have auto populated, so be sure the correct branch is selected.
In the Department box, select the department to which you want to assign the asset. If needed, specify the other applicable location parameters in the corresponding boxes, but this is optional.
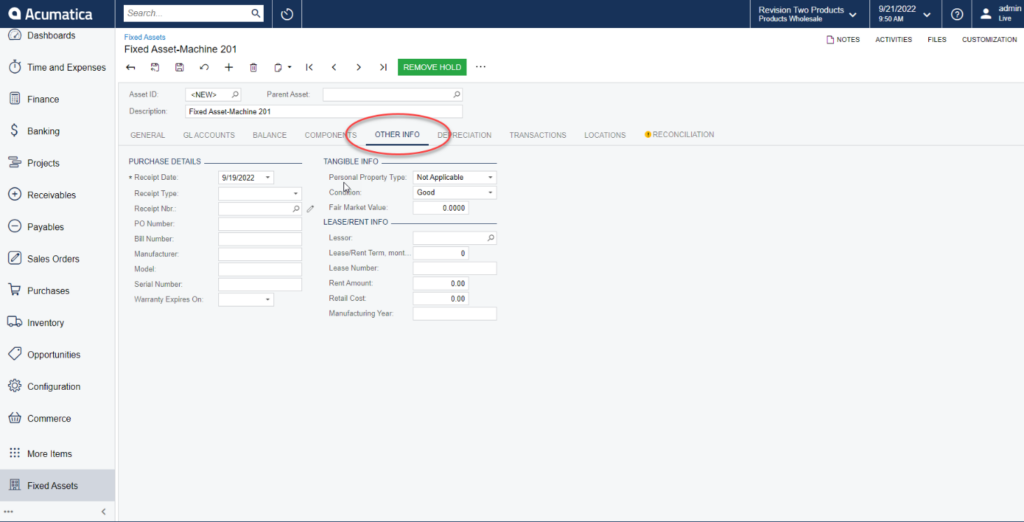
As an option, enter the details of the purchase or lease of the asset on the Other Info tab.
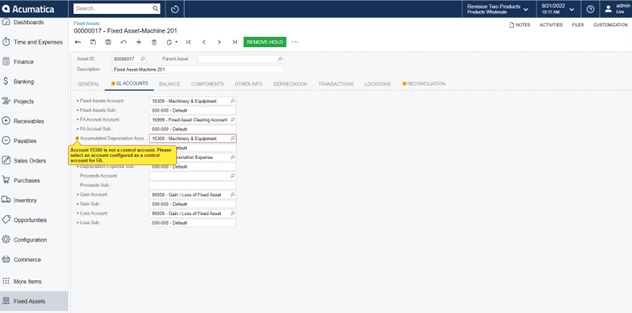
On the GL Accounts tab, look at the accounts to be used to enter asset transactions. If necessary, change the accounts. You can change the asset accounts only until a transaction is posted to a particular account.
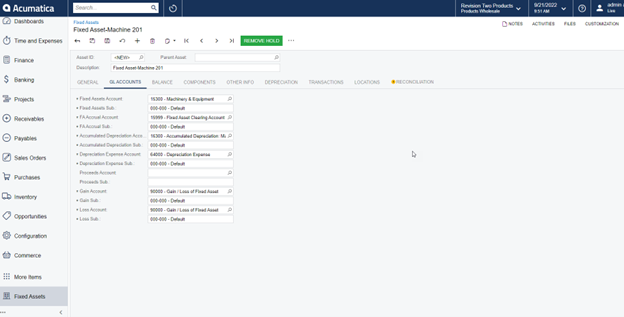
Reminder: Make sure the accounts selected for the Fixed Assets and Accumulated Depreciation are control accounts. The system will alert when this is not correct.
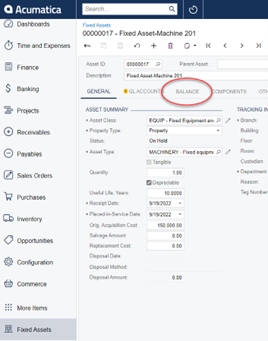
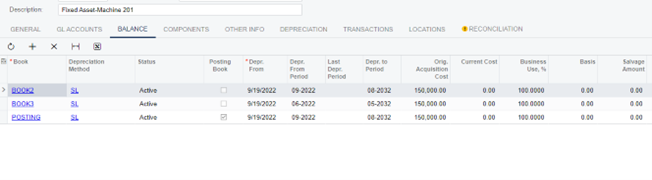
Finally, with all information entered for the new fixed asset, it is time to review, save, and release the transaction. On the Balance tab, review the depreciation settings. Make sure they meet the parameters needed.
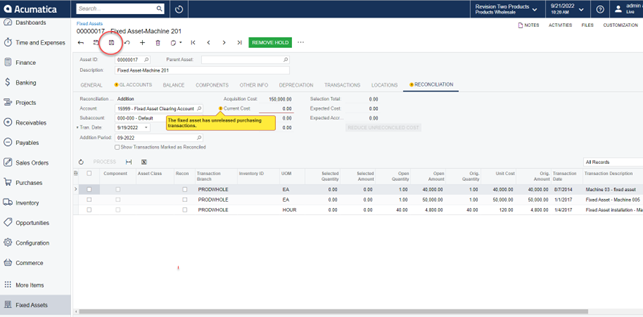
On the form toolbar, click Save. The system automatically generates the Asset ID the first time you save a new record. Once saved, the record is ready to be released as dictated by your company workflow. After an asset is created, it must be reconciled to its acquisition cost with one or multiple financial documents.
See it in action with this video!