in: Acumatica Tips & Tricks, Acumatica, Company News
In today’s tutorial, we are going to perform a task on the Acumatica mobile app. This will be part one of a two-part series on entering and approving expense receipts.
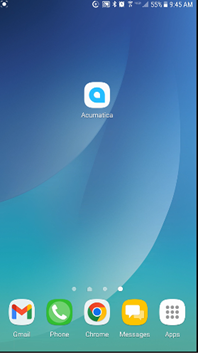
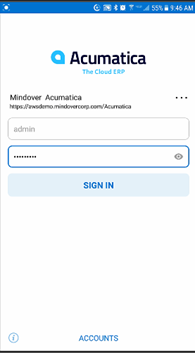
Once downloaded, we will enter the app and sign in.
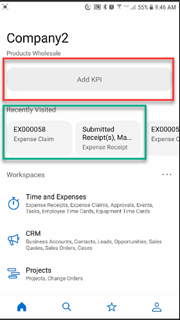
The first screen shows an overview of the company and tasks that may be performed with the app. Notice we can add key performance indicators or KPIs and see what tasks have been recently viewed or performed with the app.
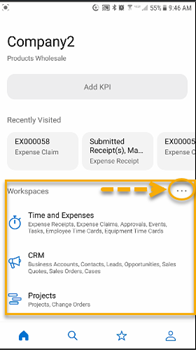
Next, we see workspaces; areas in which tasks can be carried out within the app (scroll down to see full list). The ellipses to the right show that we can edit the order of the workspace list. You can play with this to adjust to your preference.
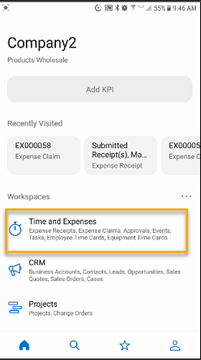
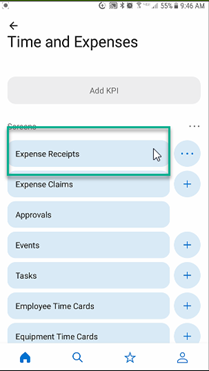
To enter an expense receipt, tap on the Time and Expenses workspace. Here we can enter the receipt one of two ways. First, we can use the ellipses to the right of the expense receipts button. It give us three options. For this demo, we will use the Expense Receipts button to enter a receipt.
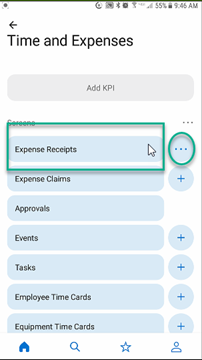
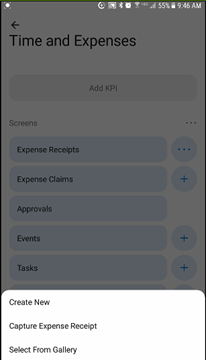
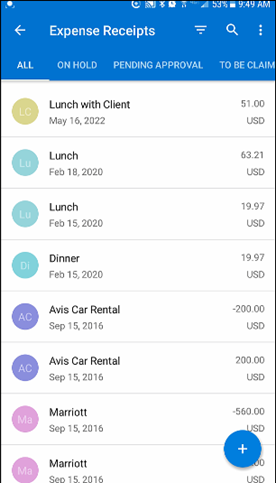
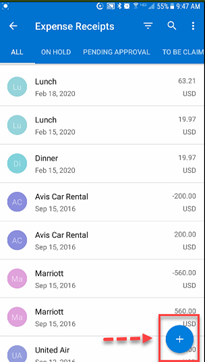
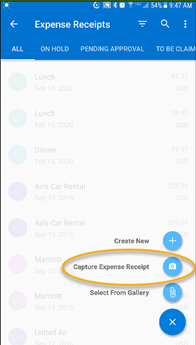
Tap on Expense Receipts. This opens the receipt list where we see a list of receipts entered. By tapping on the Add Receipt icon (plus sign), select how to enter the receipt.
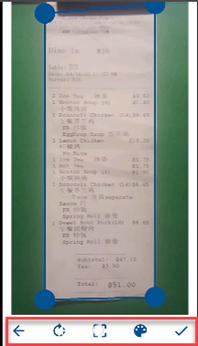
Tap Capture Expense Receipt. This will allow the user to take a snapshot of the receipt. Once a shot of the receipt is captured, we may use the buttons below to edit the shot. After editing, tap the check mark to upload the receipt.
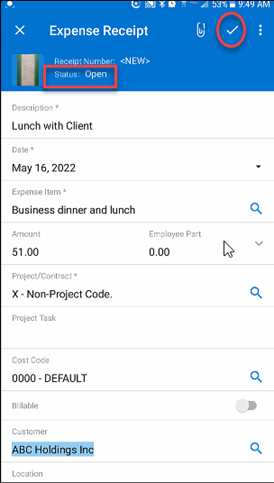
With the receipt uploaded, a details screen opens. Here we will enter the details of the receipt scroll to follow the screen prompts. Use the finder icon to open drop down boxes and insert the information needed. Some fields auto fill with current data, such as the date. Others, like the Expense Item, have a list to choose from.
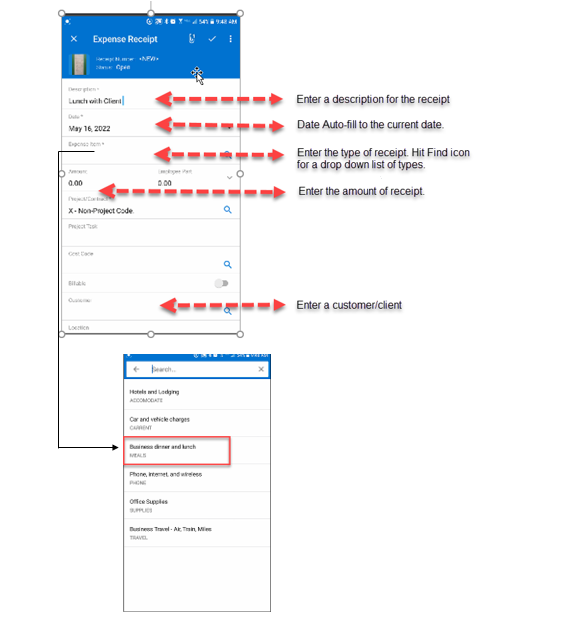
After entering all necessary details, take note of the status of the receipt. It should show the status as Open. Click the checkmark at the top right of the screen to record the receipt info. The receipt has now been entered into the list. Remember, it has an open status meaning that it is still needing to be claimed and approved. That process will be demonstrated in Part Two of this series.
