in: Acumatica Tips and Tricks, Acumatica Tips & Tricks, Financial Management, Accounting, Acumatica, Company News
In this tutorial, we will review a few steps in managing 1099s in Acumatica. We will learn how to mark a 1099 vendor, how to print 1099s, how to run reports, and finally how to close the 1099 year.
Acumatica Accounts Payable
First, we will learn how to mark a vendor as a 1099 vendor. Start by navigating to the Accounts Payable → Vendors.

Next, from the Vendors list, select the vendor that needs to be designated as a 1099 vendor. Click on the highlighted name to open the vendor’s details.
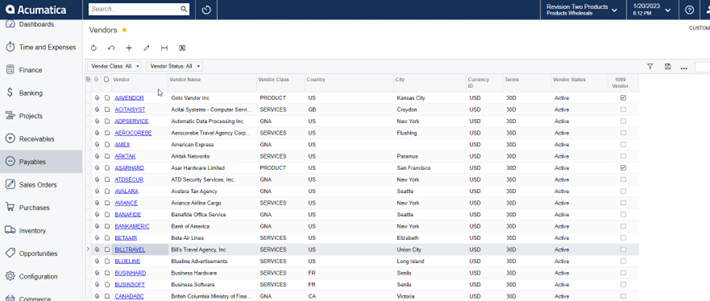
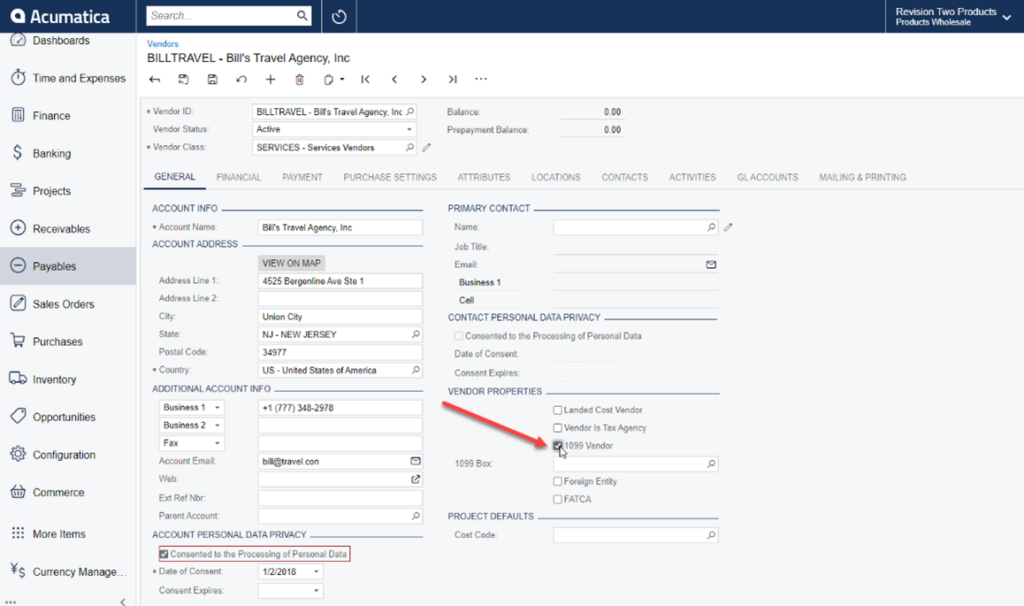
Now, we are ready to update the vendor’s 1099 status. Under Vendor Properties, put a check next to the 1099 Vendor box.
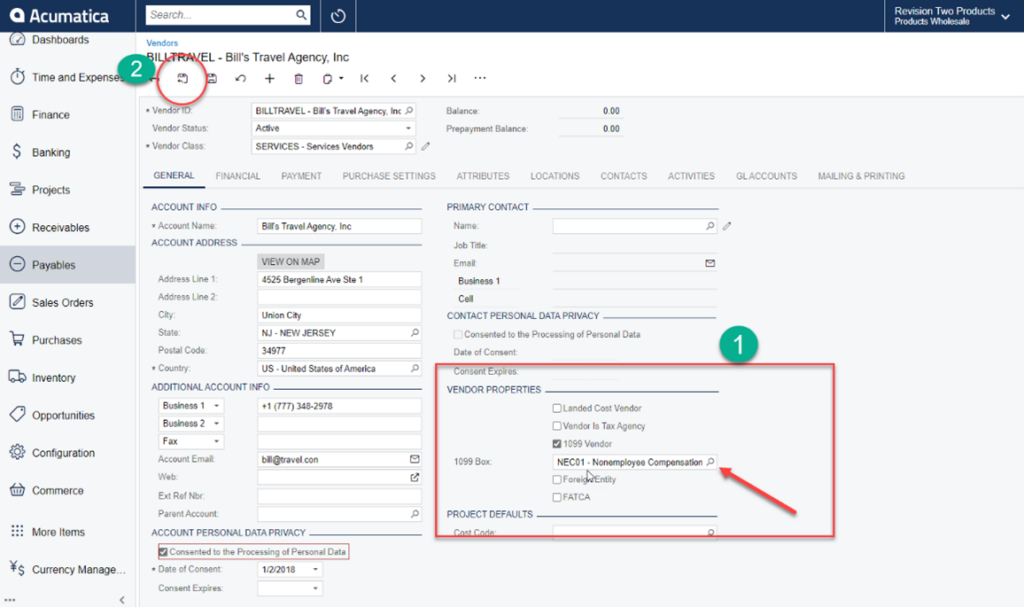
Then, specify the type of 1099 needed in the 1099 Box field by using the filter icon to find and select it. Then hit the Save and Close icon on the toolbar.
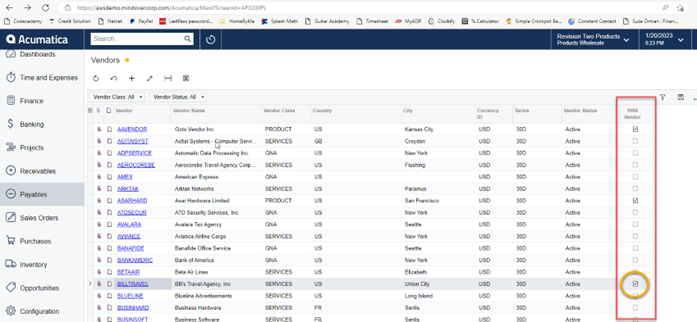
Notice that 1099 Vendor box is now checked. That’s it! The vendor is now marked as 1099-NEC.
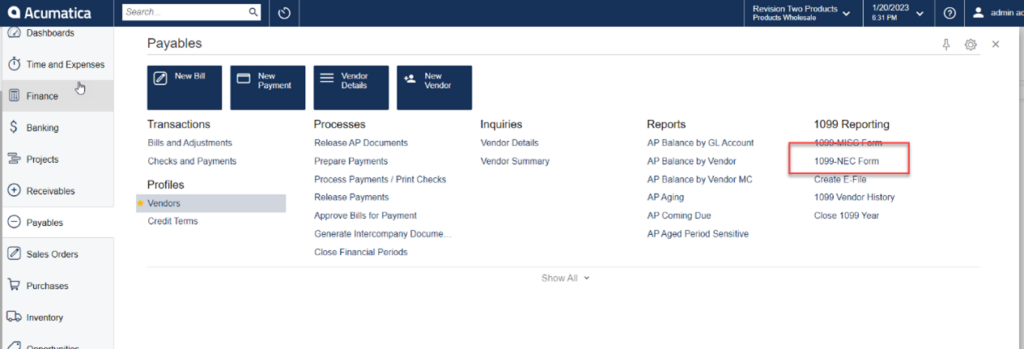
Now let’s look at how to print 1099s. From the main Payables screen select 1099-NEC Form.
Then, select the reporting year and hit Run Report.
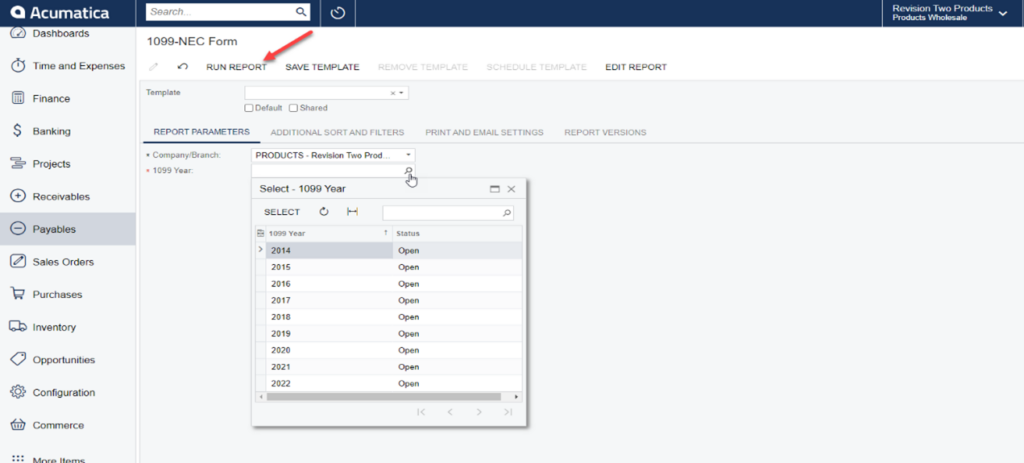
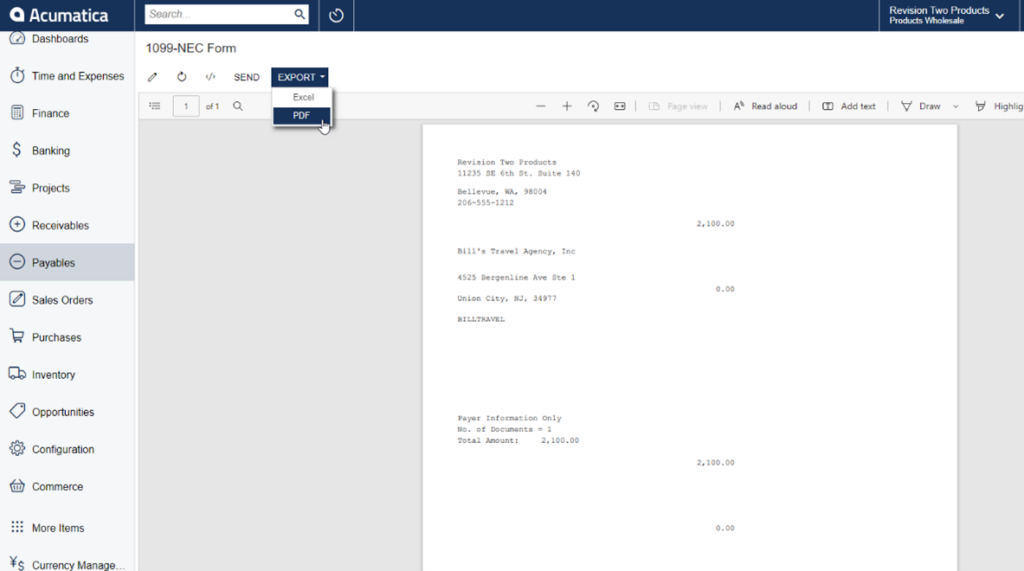
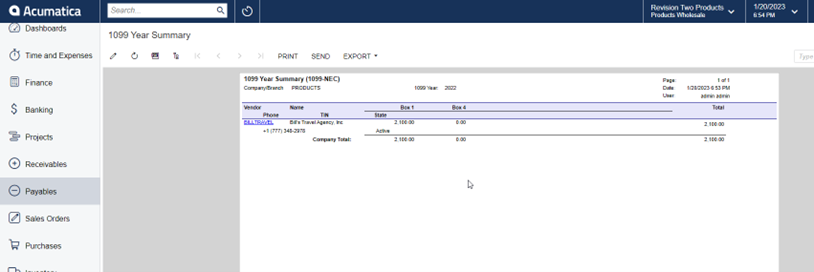
The 1099 is then generated as a PDF that can be printed, exported as an Excel document, or sent in an email. That’s it!
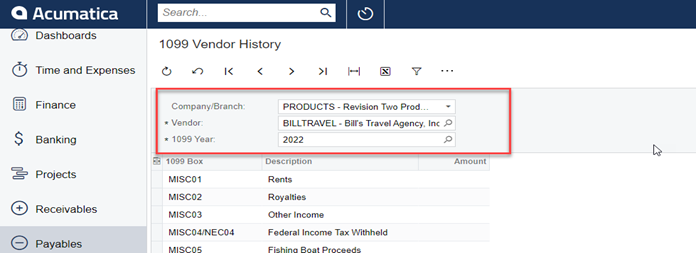
Navigating back to the Payables menu, click on 1099 Vendor History.

Using the finder icon, filter to the appropriate vendor and select the appropriate year.
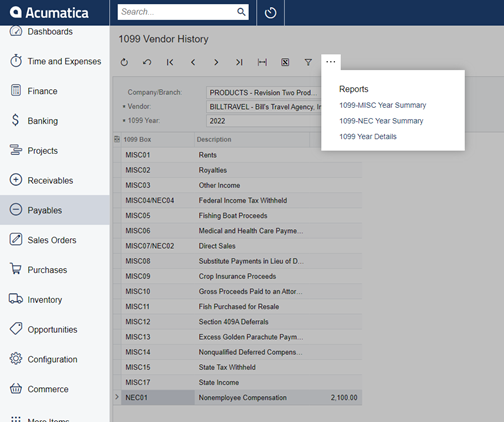
Next, select the report that is desired. The report will run and display allowing for it to be printed, emailed, or exported as an Excel or PDF document. That’s it!
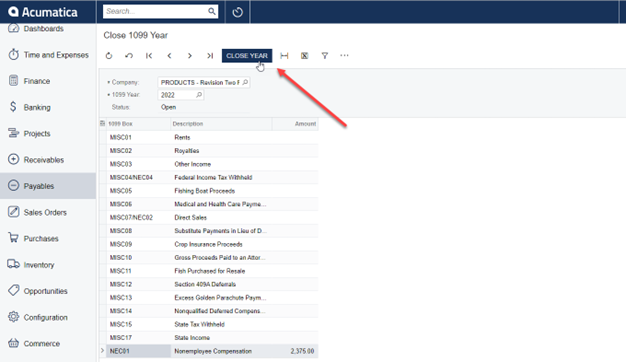
Finally, we will learn how to close the 1099 year. Once all 1099s have been processed and printed, we need to close the year. Navigating back to the main Payables menu, select Close 1099 Year.

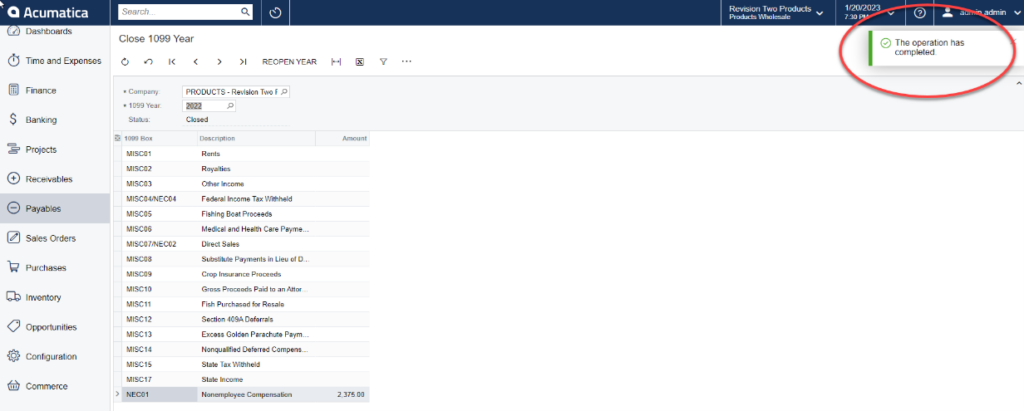
Notice the Status is listed as Open for the Company and 1099 year. Simply click Close Year. All done!
