in: Sage 300 ERP, Sage 300 ERP Tips and Tricks, Company News
For various reasons it may become necessary to control what transactions can post to an account. This can be achieved by making a general ledger account a control account. In this example, we will work through the steps to create a general ledger control account in Sage 300.
Sage 300 General Ledger
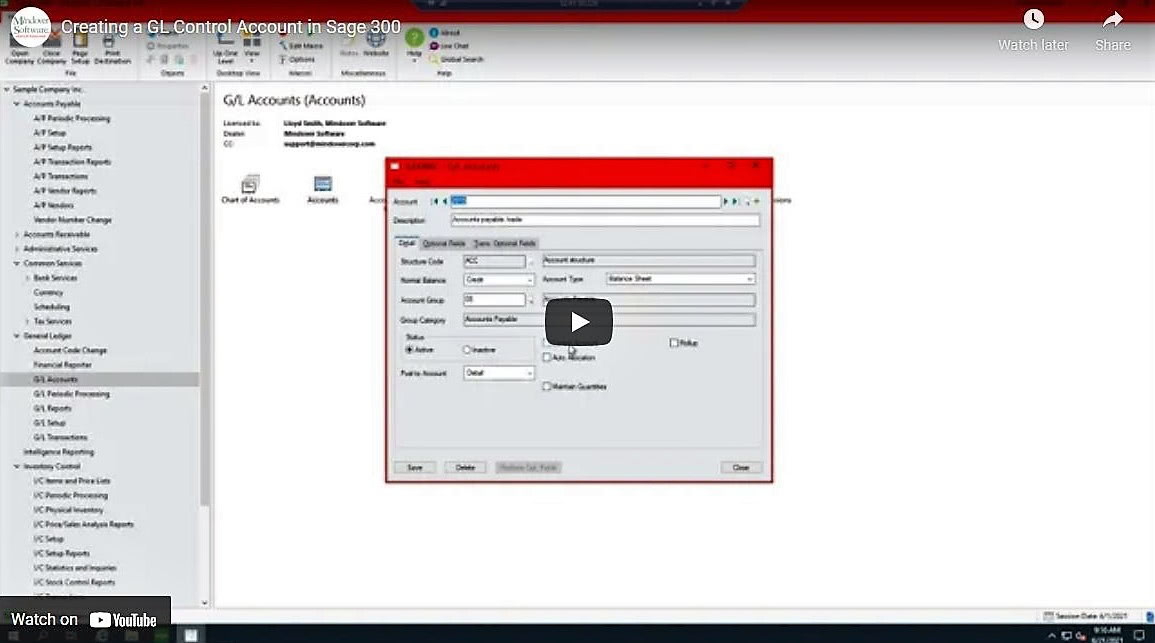
Start Sage 300 and navigate to General Ledger > G/L Accounts > Accounts. The current screen shows the G/L Accounts screen. Click on the Finder icon and select the account desired. For our example we will use the Accounts Payable, trade account.


With the account desired is pulled up, click on the box marked Control Account. Once that box is checked, notice a tab marked Subledger will appear.


Click on the Subledger tab. Here is where the type of transactions allowed to be posted will be entered. For our example, we will enter accounts payable (AP) and general ledger (GL) transactions. Enter these by clicking on the line and typing it in. Then, click the Save button at the bottom of the screen. This allows for both accounts payable and G/L journal entries to be applied to this account.

Note: You may consider not having the GL entered under the subledger, particularly if there are problems with having out of balance details between the control account on the trial balance and the detailed open payables/receivables transactions.
Next, select the date range. Make the From and To dates the same.

For our example, we only want the statement for one customer. Click on the finder icon and select the customer needed. Then, hit the print button.

The system will regenerate the full statement.

